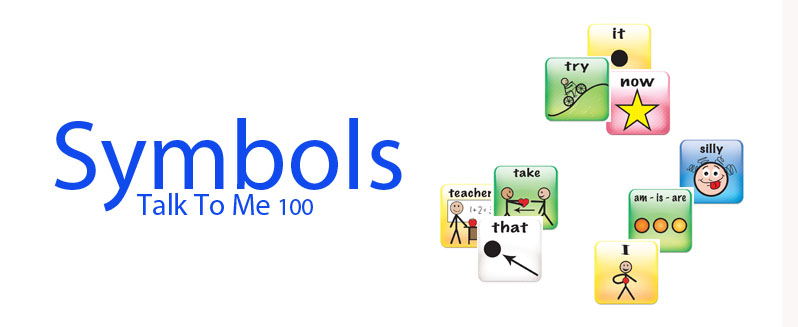
Directions for Laminate and Velcro® or hook and loop sticky back tape or dots to create your Talk To Me 100 ® visual symbols for an array of teaching goals.
CONSTRUCTION:
Our symbols come in 4 sizes: approximately 1, 2, 4, and 8 inches square. Determine the best size for the child’s use. For those with visual or cognitive impairments, the 4 or 8 inch symbols may be suitable. For the physically impaired, who use visual eye gaze to select a symbol, the 2 inch symbols would be a good size to start with. For speech, language, motor planning and other sensory disorders, the 1 or 2 inch symbols may be appropriate.
Print and laminate your 10″x12″ print version- and an additional copy of those symbols.
Print and laminate 2 copies of the 4 pages of 25 symbols per page. Arrange the first copy of 4 pages into a 17″x 23″ communication board. Attach them to a trifold poster board for easy access. Cut the 100 individual symbols from your 2nd laminated copy. Attach each symbol to the corresponding symbol on your communication board.
Use Velcro®, clear mounting squares, glue dots or double sided sticky back tape to attach symbols. These items may be found in most office supply departments. Online, laminator.com and fastenation.com have a variety of hook and loop items. As a general rule, the soft Velcro dot or piece is attached to the symbols on the communication board, and other stationary surfaces. The rough dot or piece is attached to the individually cut out symbols. In this manner, each symbol can be moved and attached to a variety of surfaces: around the home, books, toys and objects, indoor/outdoor carpeting.
Print , laminate, and attach adhesive to additional size symbol pages as needed.
Organize your individual symbols by attaching them on the communication board or store them in page protectors in a 3 ring binder.
USES:
Books: Select one to three words per page to attach corresponding symbols. Remember to place the soft Velcro on the page, so individual symbols with rough Velcro can be moved on and off the page. Tip: Use clear packing tape on the section of page where you want the adhesive, protecting your book. Double sided sticky back tape also works well. As you read to your child, reinforce words by placing the symbol(s) on the page, as well as pressing the same word on your Talk To Me 100 ®. Soon, your child will be doing this independently.
Alternatives
- Place a strip of soft sticky back Velcro on a paint stick or yardstick. Attach your individual symbols in a sequence to match the words on each page.
- Place individual symbols on a piece of indoor/outdoor carpeting (free samples from flooring stores) as you read with your child.
- Purchase 2 copies of the same book. Cut out target pictures and/or words, laminate and attach to corresponding pictures in the other copy. The same results can be achieved with a color copier. Combine these pictures with the Talk To Me symbols.
- Print multiple copies of same symbols for repetitve lines throughout some stories. Select the individual symbols from Talk To Me file package and resize, print and laminate as needed.
- Replace the main character of the story with a photograph of your child (laminated of course).
Create symbol stickers to place in books. Decide the target symbols to use with your child. Open blank document on your computer, insert selected Talk To Me symbols (from CD or downloaded file) to correspond with words in specific stories. Print on 8.5 x 11″ full page sticker sheet, cut, peel and stick on page near picture or word in the book.
Make iron-on symbol transfers for clothes and other material. Determine high frequency use words to be placed on your or your child’s T shirt, jeans or tote bag. Open blank document on your computer, insert selected Talk To Me symbols (from CD or downloaded file). Print on 8.5 x 11″ Iron-on Transfers sheet and follow directions for ironing onto fabric. Ideal for shirts, caps, bags, blankets and baby items.
Engineer your home or classroom for communication. Attach symbols to things in the environment to encourage high frequency functional communication. For example, symbols for “open”, “close”, “go” “in”, “out” placed on or around the door will provide multiple opportunities to verbalize, point and activate the device during the frequent action of going in and out, opening and closing a door. In time, you will begin to see your child imitate or spontaneously initiate these words by pointing, vocalizing, eye gaze, verbalizing or activating the device.
Make your own power point book using Talk To Me100 symbols. Open the demo provided in the downloaded file or CD. Replace words, phrases, symbols and family photographs with your own creations. Record your own narrative or voice. Sing songs or familiar rhymes and combine your symbols for those high frequency words, reinforcing them with the device. Tip: Word Power is a free download on the internet that will read your power point files in selected voices. Print Power Point Pages, then laminate and bind to create your own book.

